ideloading things might seem pretty difficult, but the steps are actually pretty easy to follow. Here we’re going to show you how to sideload apps onto your Oculus Go
So what is sideloading? Long story short, sideloading will give you the access to games and apps that aren’t in Oculus Software as of yet. This means you’ll be able to get all of the cool things that aren’t available for you to download on the Oculus Store right from your headset. We’ll show you how to get the app file for these games and how to get them working on your Oculus Go.
What you will need
- Oculus Go
- Oculus Go charger
- Android Phone
- Android Phone charger
- A computer with two available USB ports
- Internet access
Getting started
The first two things you’ll need to do to get your Oculus Go ready to sideload apps is creating your developer account and turn the developer mode on in your headset. It doesn’t matter what you name the organization for your developer account.
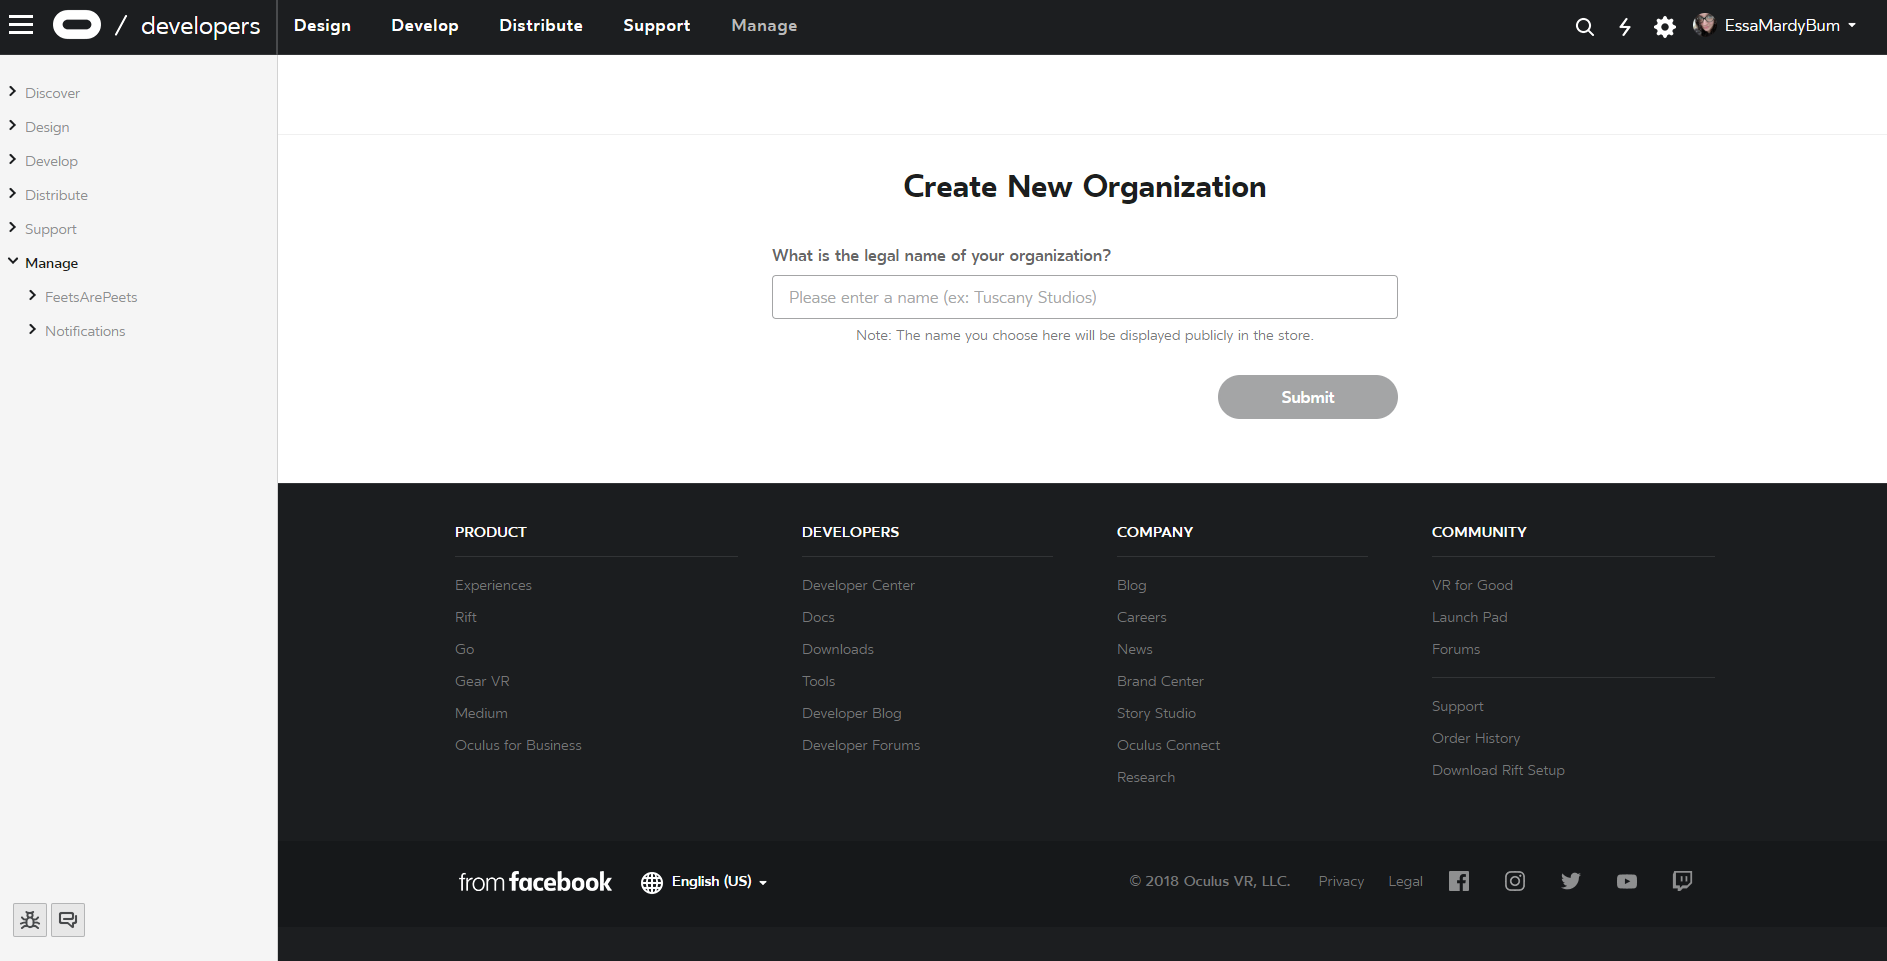
Create your Oculus developer account
- Go to this website and sign into your Oculus account.
- Create a name for your “Organization”.
- Read over the “Developer Non-Disclosure Agreement”.
- If you agree to the terms, check the box and press “I Agree.”
Enabling Developer Mode on your Oculus Go

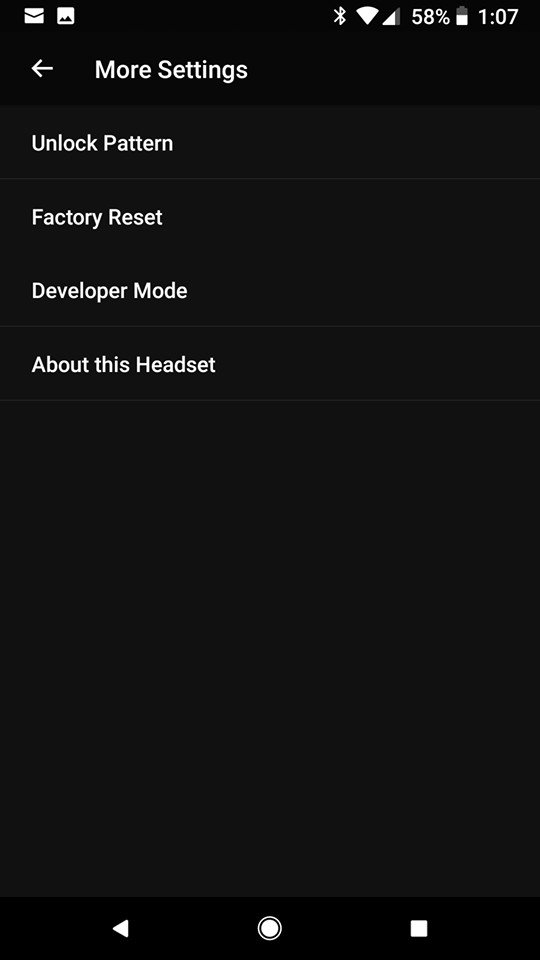
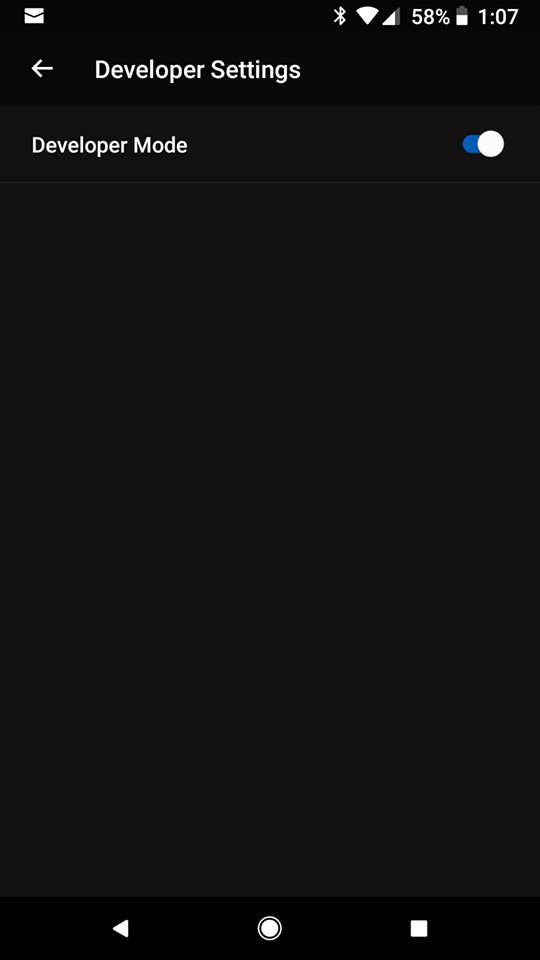
This will allow debugging on your Oculus Go so that we can transfer files later on.
- Open the Oculus app on your phone.
- Select settings from the bottom right.
- Select your Oculus Go headset.
- Select “More Settings”.
- Toggle Developer Mode on.
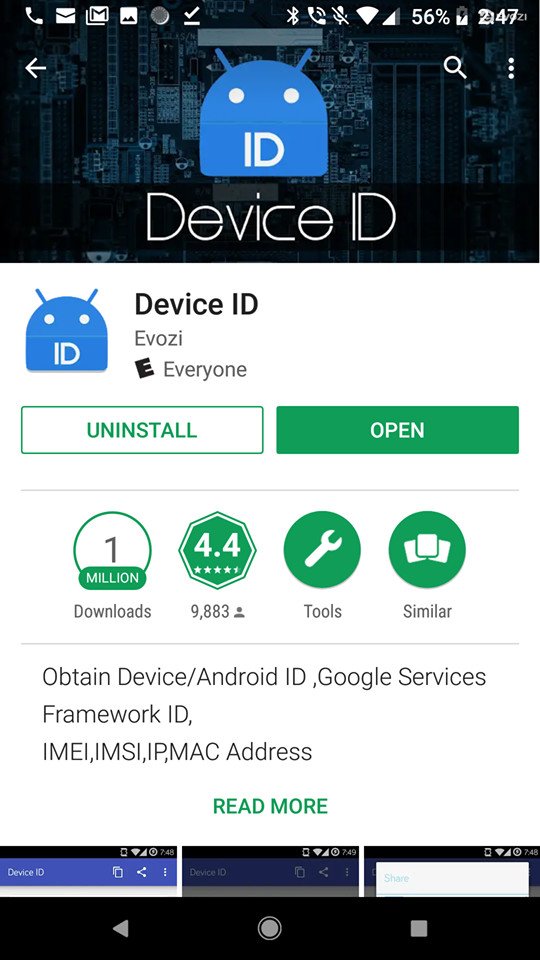
Finding your phone ID
The first thing you are going to need is your phones device ID. This is not your phones serial number so it won’t be in the information from your settings. To find this information do the following.
- Connect your phone to a USB port on your computer.
- Open your computers command window and type in “adb devices”
- This will show you a list of all the attached devices to your computer.
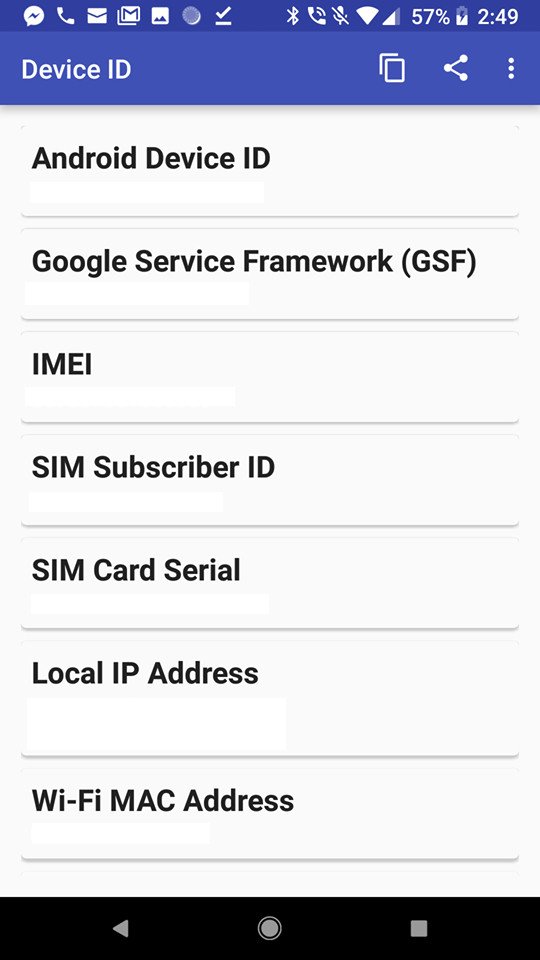
If you are having troubles with that method you can download this app and it will give you all the information you need. Remember, you are not looking for your serial number or IMEI. The Android Device ID is listed at the top of this app. It will be a series of numbers and letters.
Using SideloadVR

This app contains games and apps, uploaded by developers, for you to test out. These are made for the Gear VR but so were most of the games there already for you to download to your Oculus Go. You might encounter a few that are not compatible, but you’ll also find some that work just fine.
- Download SideloadVR for GearVR to your phone.
- Open the App and let it load, this might take a few minutes.
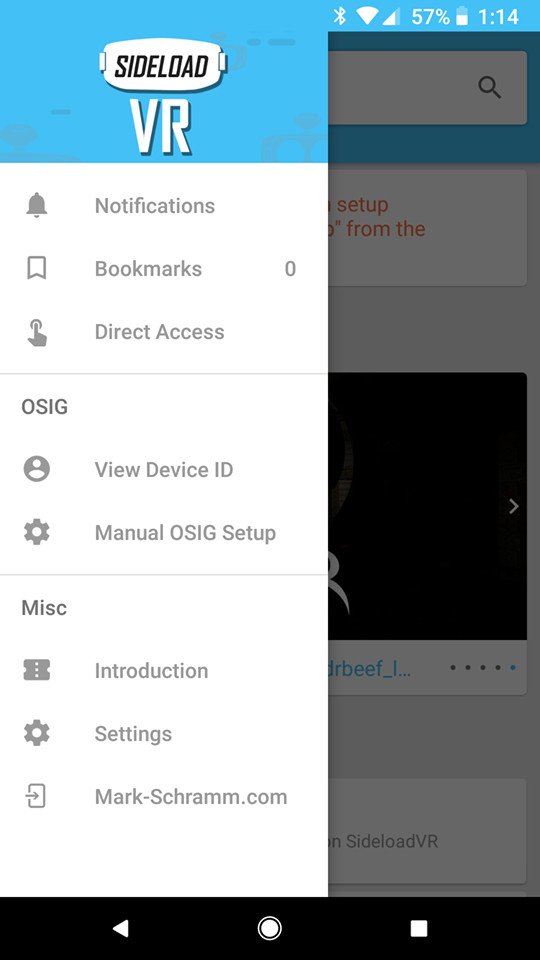
- Follow the setup. If you hit skip you can find the setup options by selecting the hamburger menu button on the top left and press “Manual OSIG Setup” from the list.
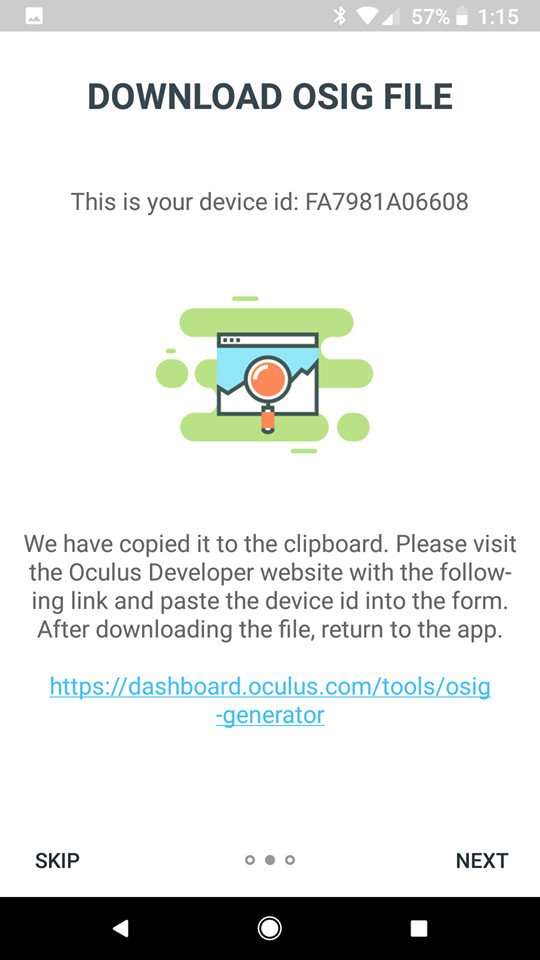
- One of the first steps it will have you do is go to the Oculus Website to download a file, this is where your Android Device ID comes in handy. Don’t close the app, leave it running in the background while you do the next step.
- In order to get the download, you will need to input that Device ID on the top of the page (where requested) and press “Download File”.
- Now restart the app.
Alright, now that you’re manually set up for Slideload VR to run it’s time to move onto the next step. If you are using a phone that is not a Samsung Galaxy Note 4, any S6 variant, S7 variant or Note 7 there will be a few extra steps for you. If you are using one of those phones, skip over this small section of instructions and move on to how to use your APK extractor.
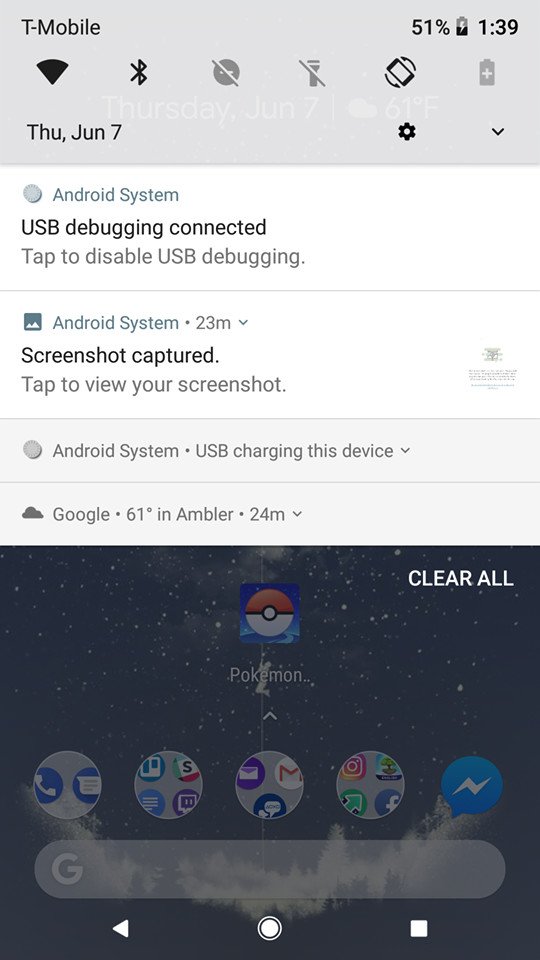

- Turn on the developer options on your phone and make sure you turn on USB debugging. An option to do this will pop up on your drop bar as soon as you connect your phone to USB.
- On that note, connect your phone to the USB port on your computer (if you haven’t already.)
- Go to this link on your computer to download the dropbox file for Oculussig_
- Go to the Downloads folder on your computer, right-click the oculussig_ file and select copy.
- Open the folder containing your Phones storage on your computer. If you don’t see any folders make sure “MTP” is selected under your developer options on your phone. This will be located in a section called “Select USB configuration”.
- Open the “Download” folder on your computer (the download folder from within your phone files, not your computer files.)
- Past the Oculussig_ file into that folder.
Using APK extractor
Now that everyone is up to speed we’re gonna show you how to get the apps you wanna play working with your Oculus Go. The first thing you want to do is download APK Extractor – Creator to your phone.
- Open SideloadVR and select the game or app you wish to download. (For your first download, choose VRidge 2). If that app you are trying to download requests special access, for your safety, I would advise not doing that.
- Once you have the app selected that you want to hit “Download app” on the bottom of the information page.
- A pop-up will appear asking you to confirm the download as well as giving you contact information for downloads that aren’t working. Select “Continue”.
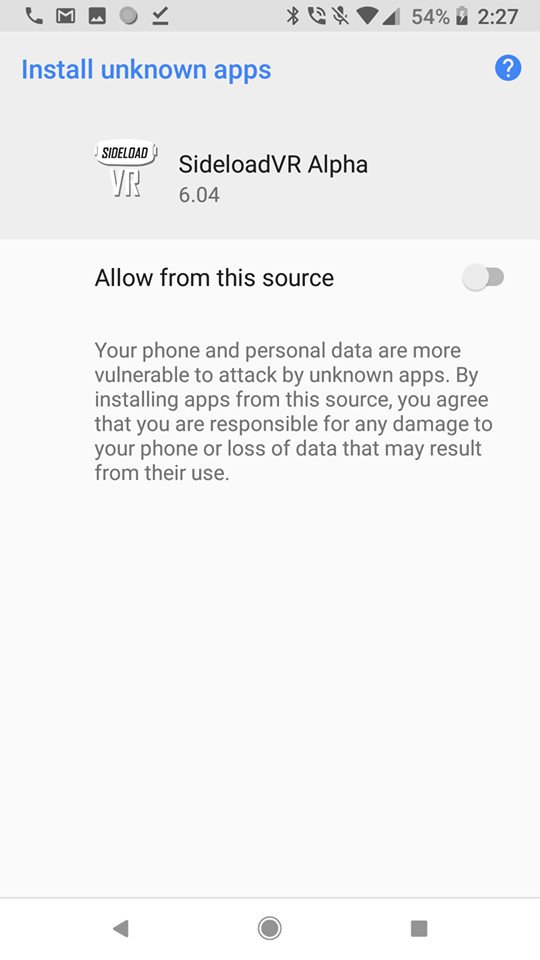
- If you receive an error stating “For your security, your phone is not allowed to install unknown apps from this source” hit the settings button from the pop-up.
- Now select “Allow from this source” and start the download process over again.
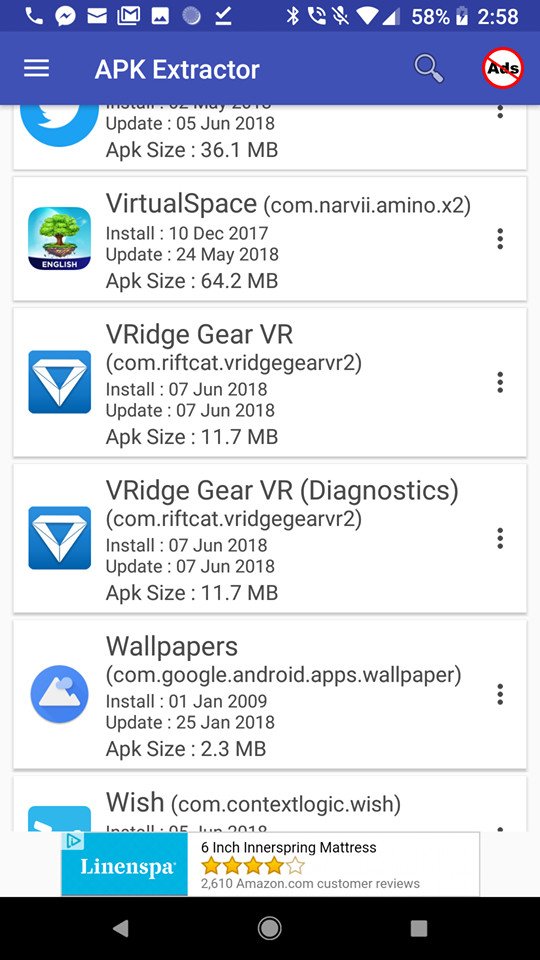
- Open your APK Extractor app on your phone.
- Find the app you just downloaded on the list. In this case, it will appear as “VRidge Gear VR”.
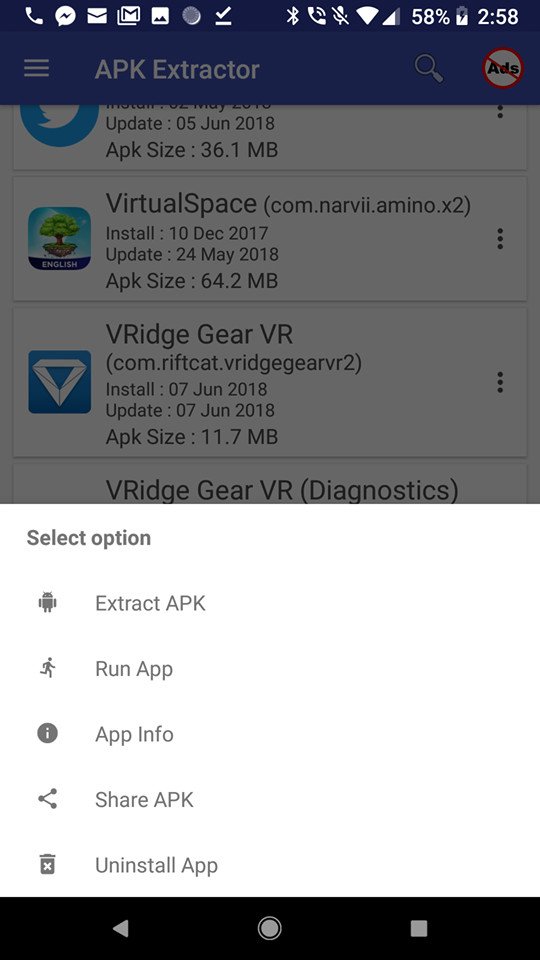
- Select the three-dot menu option next to the name and press “Extract APK”.
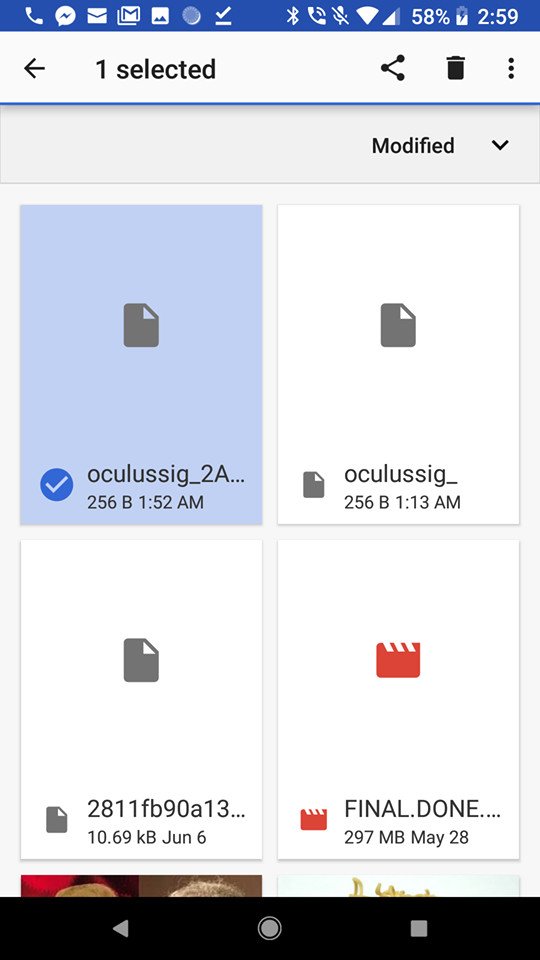
- Find the extracted APKs file in your phone’s download section and email it to yourself (so you can transfer it to your computer.)
- Once received in your e-mail save it to your desktop so it’s easy to find and move on to how to work the ABD installer.
Using ABD installer
Now you want to get an ABD installer on your computer. This is an installer for tools and drivers between a PC and an Android. Go to this link here to download the file you need.
- Once you have the file downloaded, find it in your download folder and double-click.
- Select “Run”.
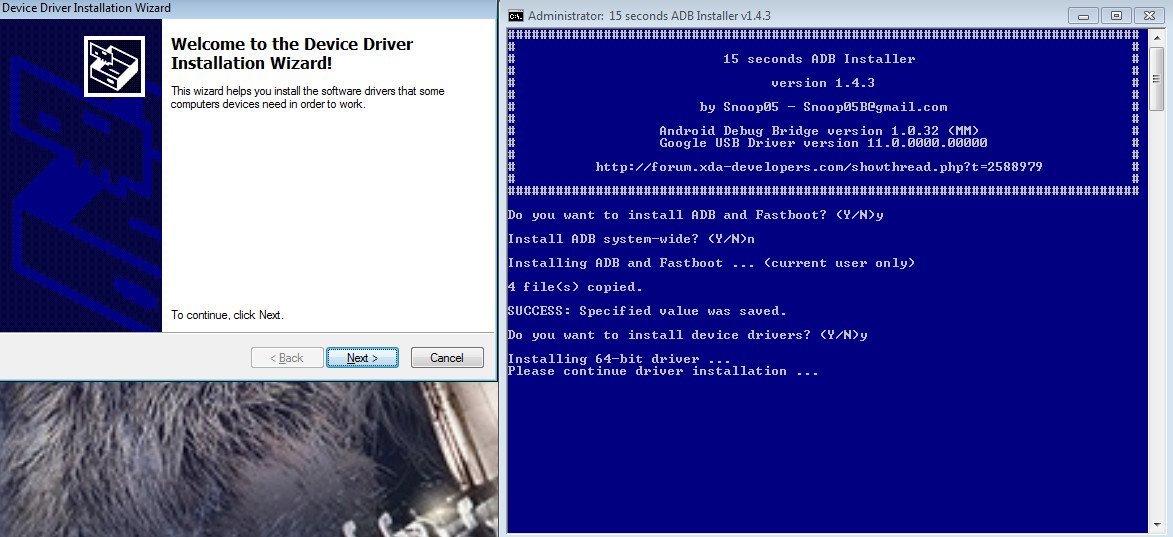
- Wait a moment and a blue box (shown above) should appear.
- Type “Y” into the box and press enter.
- Now it will ask if you want it installed system-wide. If you select no (N) it will only download to your account. If you select yes (Y) it will install to all of the users on your computer.
- Now it asks if you want to install the driver. Type “Y” and hit enter.
- An installation wizard should have popped up now. Go through the prompts for downloading and, when everything is finished, press “Finish.”
- This will prompt for a computer restart, go ahead and do that now. Remember to save the link to this article for the next steps!
Now that your computer is finished restarting, we can move on to the next steps.
For these next steps start by connecting your Oculus Go to an open USB port on your computer and turn it on.
- Find where ADB was installed to your computer. For most people, it will go right to your (C:) Local Disk. If not, check the “Users” folder under the local disk and it will be right there in a folder labeled “adb”.
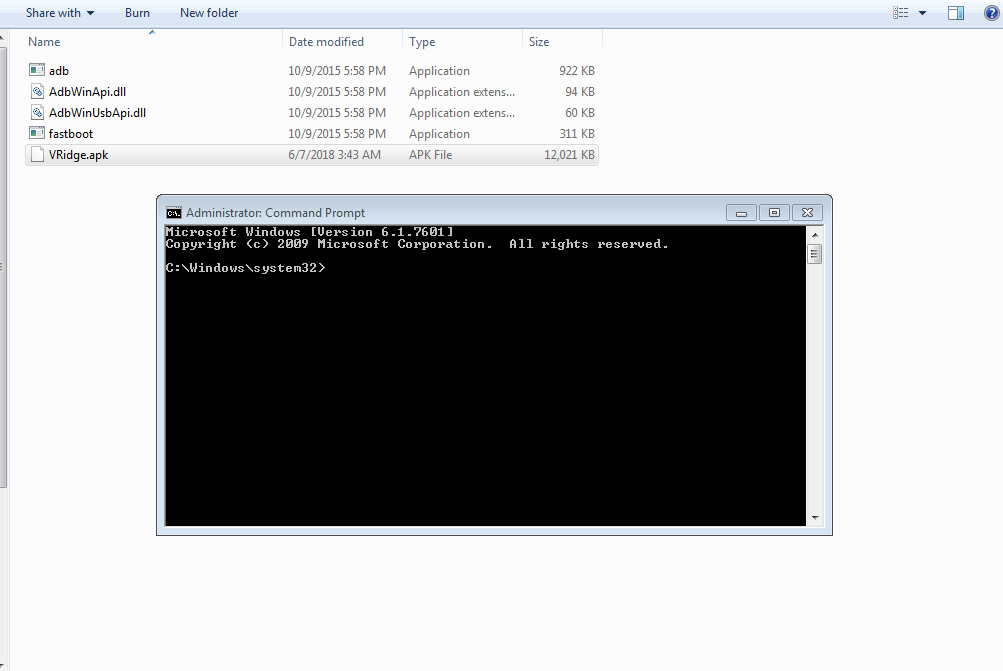
- Open the adb folder.
- Click and drag over your APK file (that we saved to the desktop earlier) and drop it into the adb folder.
- If you want to make the file easier to find later, go ahead and rename it to whatever you like. I renamed mine to “VRidge”.
- Now open the command prompt on your computer. Make sure you are running this prompt as an administrator.
- Type in “adb devices” and press enter.
- Open your Oculus go and allow debugging.
- Run the same “adb devices” prompt once more.
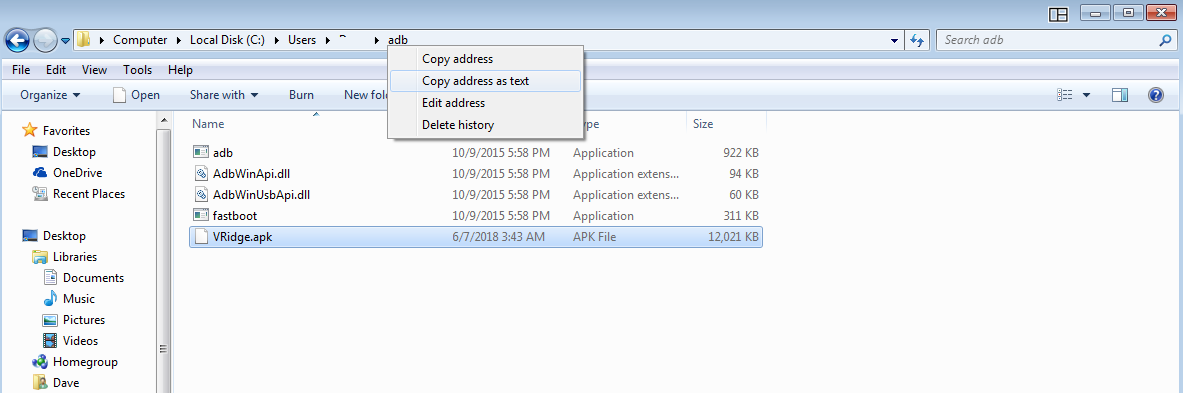
- Right-click on the name on your address folder (shown above) and select “copy address as text”.
- Now select paste within your command prompt and hit enter.
- In the new prompt that appears type in “adb install [NAME].apk”. The [NAME] should be whatever you named your file. In my case I typed in “adb insall VRidge.apk” and press enter.
- Wait a few moments, as soon as it is done installing the command prompt will notify you if the installation was successful or not.
Time for things to get fun!